Here's a showcase of some work by my students done in blender.
TentEYEcles by sashadelilah on Sketchfab
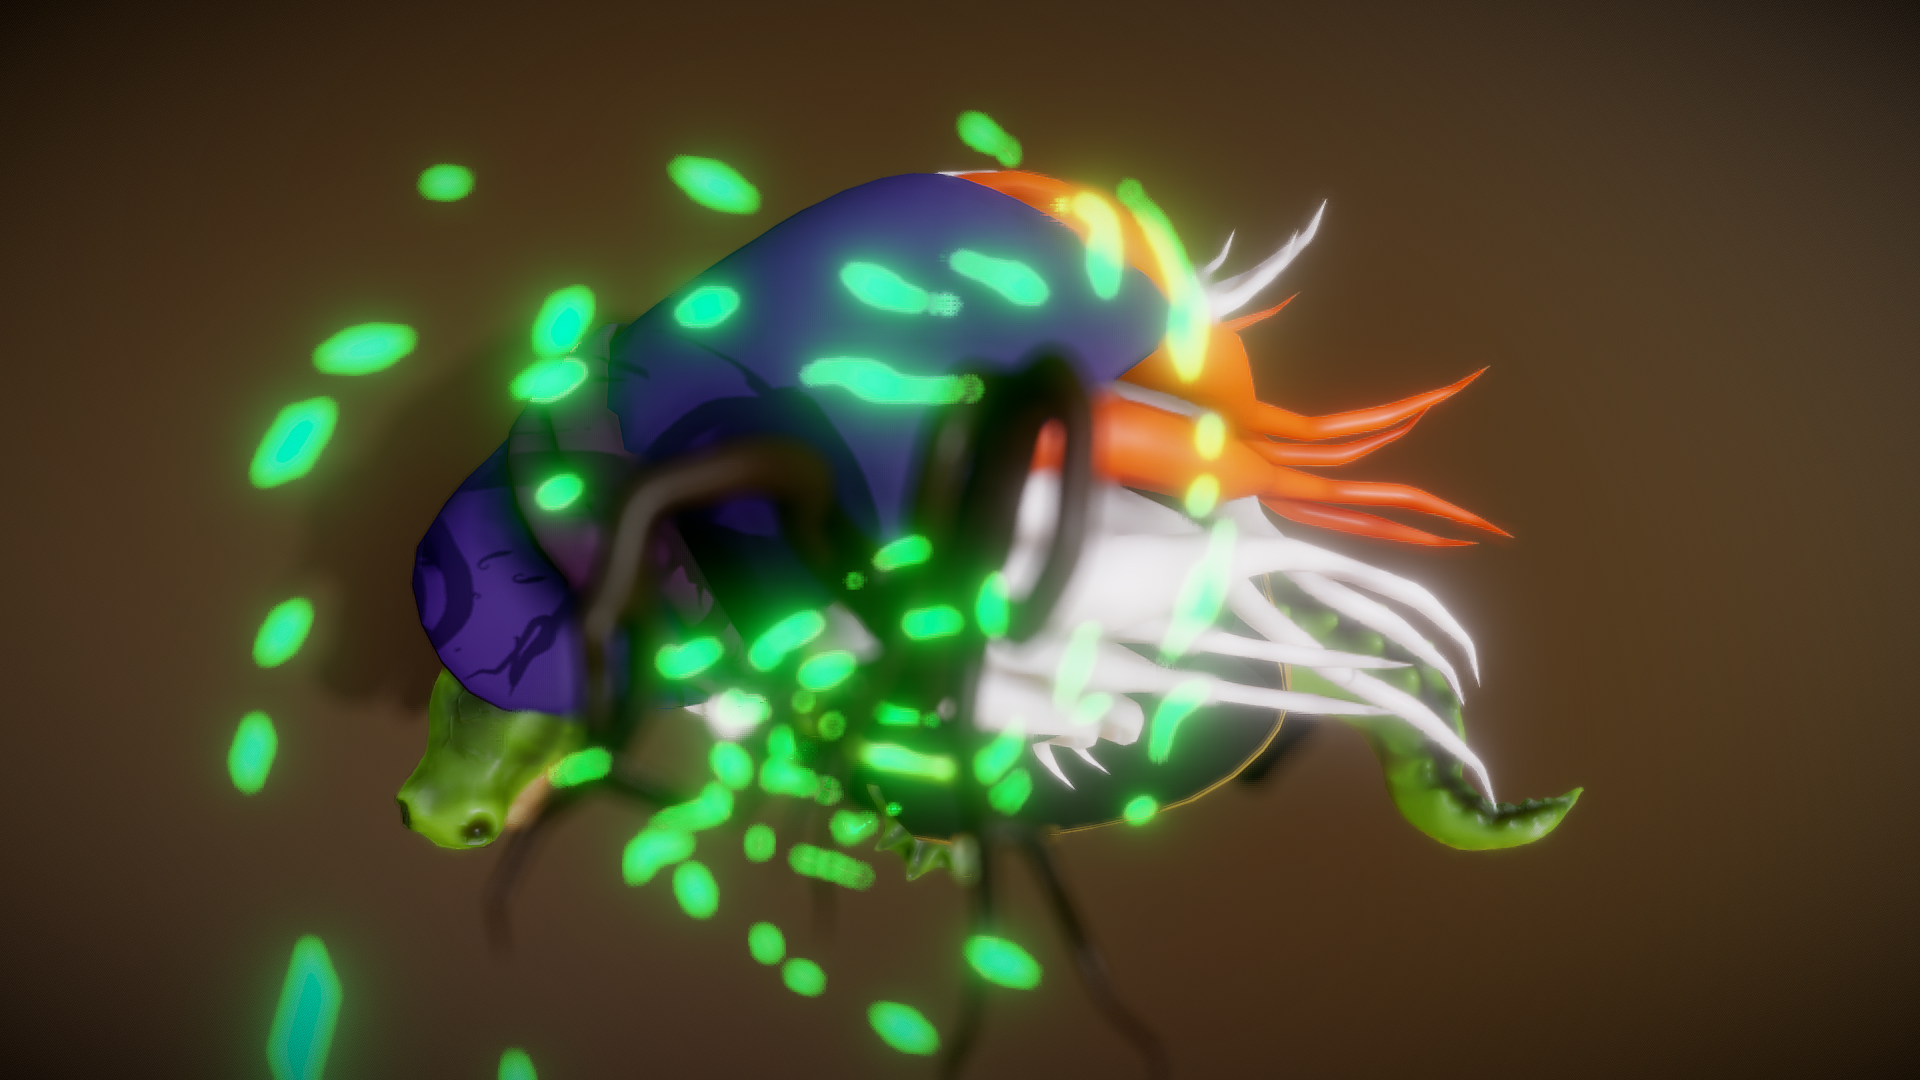
fortune by yanamenacherry on Sketchfab
Here's a showcase of some work by my students done in blender.


In Nov 2022, I attended a workshop with Jonathan OHear at Attakalari. This was an interesting workshop for me, as it had been a long time since I had sat down to learn something new. In this case something entirely outside my comfort zone - VVVV 
On each day Jonathan introduced us to byte sized concepts in lighting and coding, in what I as an educator, found was a well thought out and manageable lesson plan.
We learnt how to program an ESP32 variant that had wifi and bluetooth as well as a battery pack(added by the support team Transmedia at Attakalri)
The workshop culminated in a show where we showcased our projects for the public.


Desk at Work by Chaitanya Krishnan on Sketchfab
This is the patch I eventually had..


For anyone who may need this in future heres the setup I got working - DOWNLOAD
Have added a dampner to delay/soften the movement and color transitions.
Used the mesh from a 3d scan of my office desk as the emitter.
Heres a forum thread that was a big help to me.
On the last day we put on a little show for the public, allowing them to witness and interact with our creations.


.png)

.png)
.png)

Pinku the cat by Chaitanya Krishnan on Sketchfab
I took it to Blender to explore some repair techniques, but woundup building this contraption around it.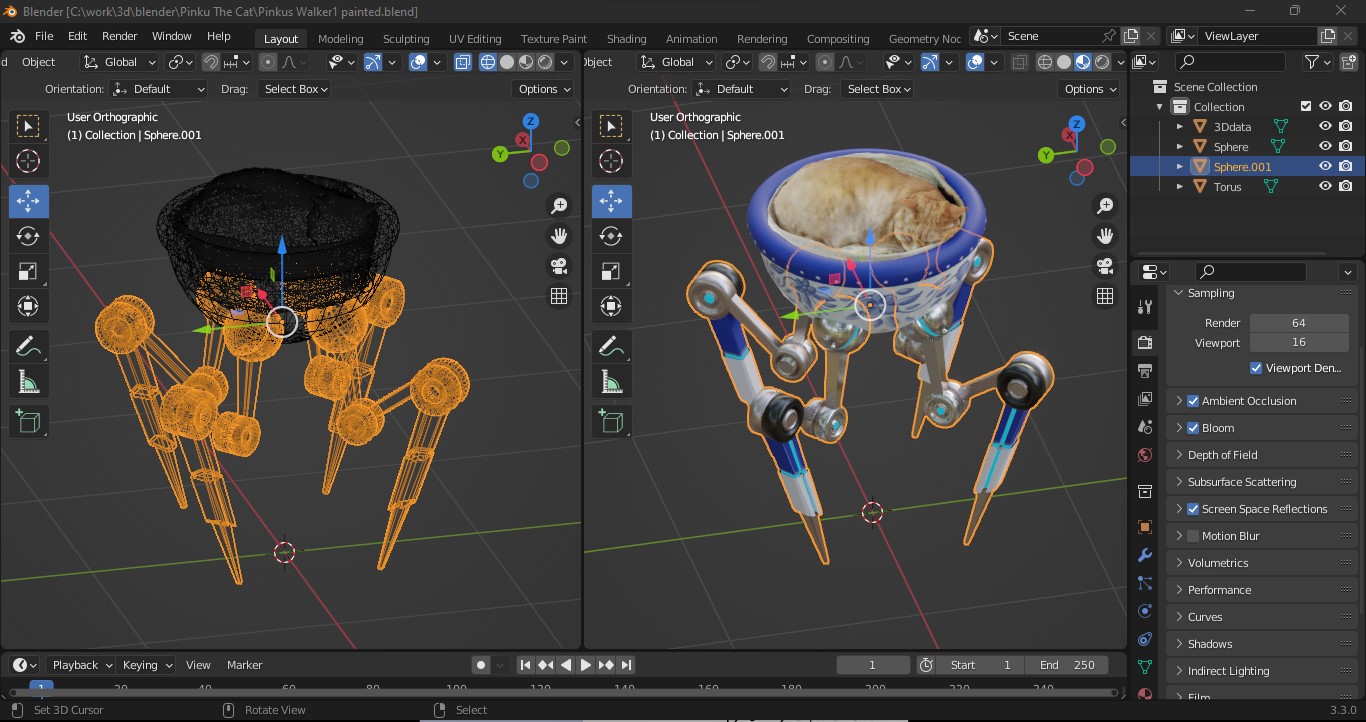
Cyberpunk Catbed Porcelain by Chaitanya Krishnan on Sketchfab
You can also try it in AR with Snapchat -
This link or use the snapcode below


.jpg)
Made a quick model for Batman Day 2022
(cheated the traditional voxel process, by using the Remesh Modifier in Blender)
 |
| Heres a timelapse of the process. Scroll down for the normal speed video. Heres the 3d Model |

.jpg)

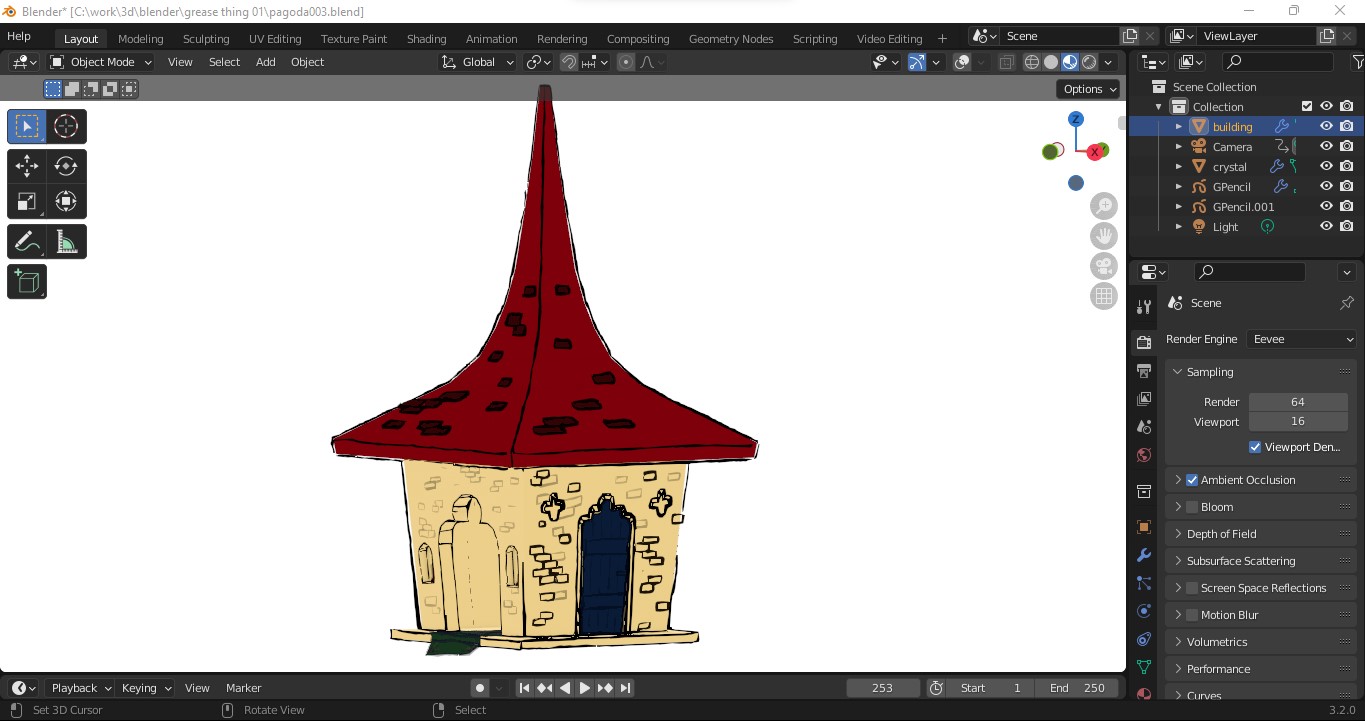
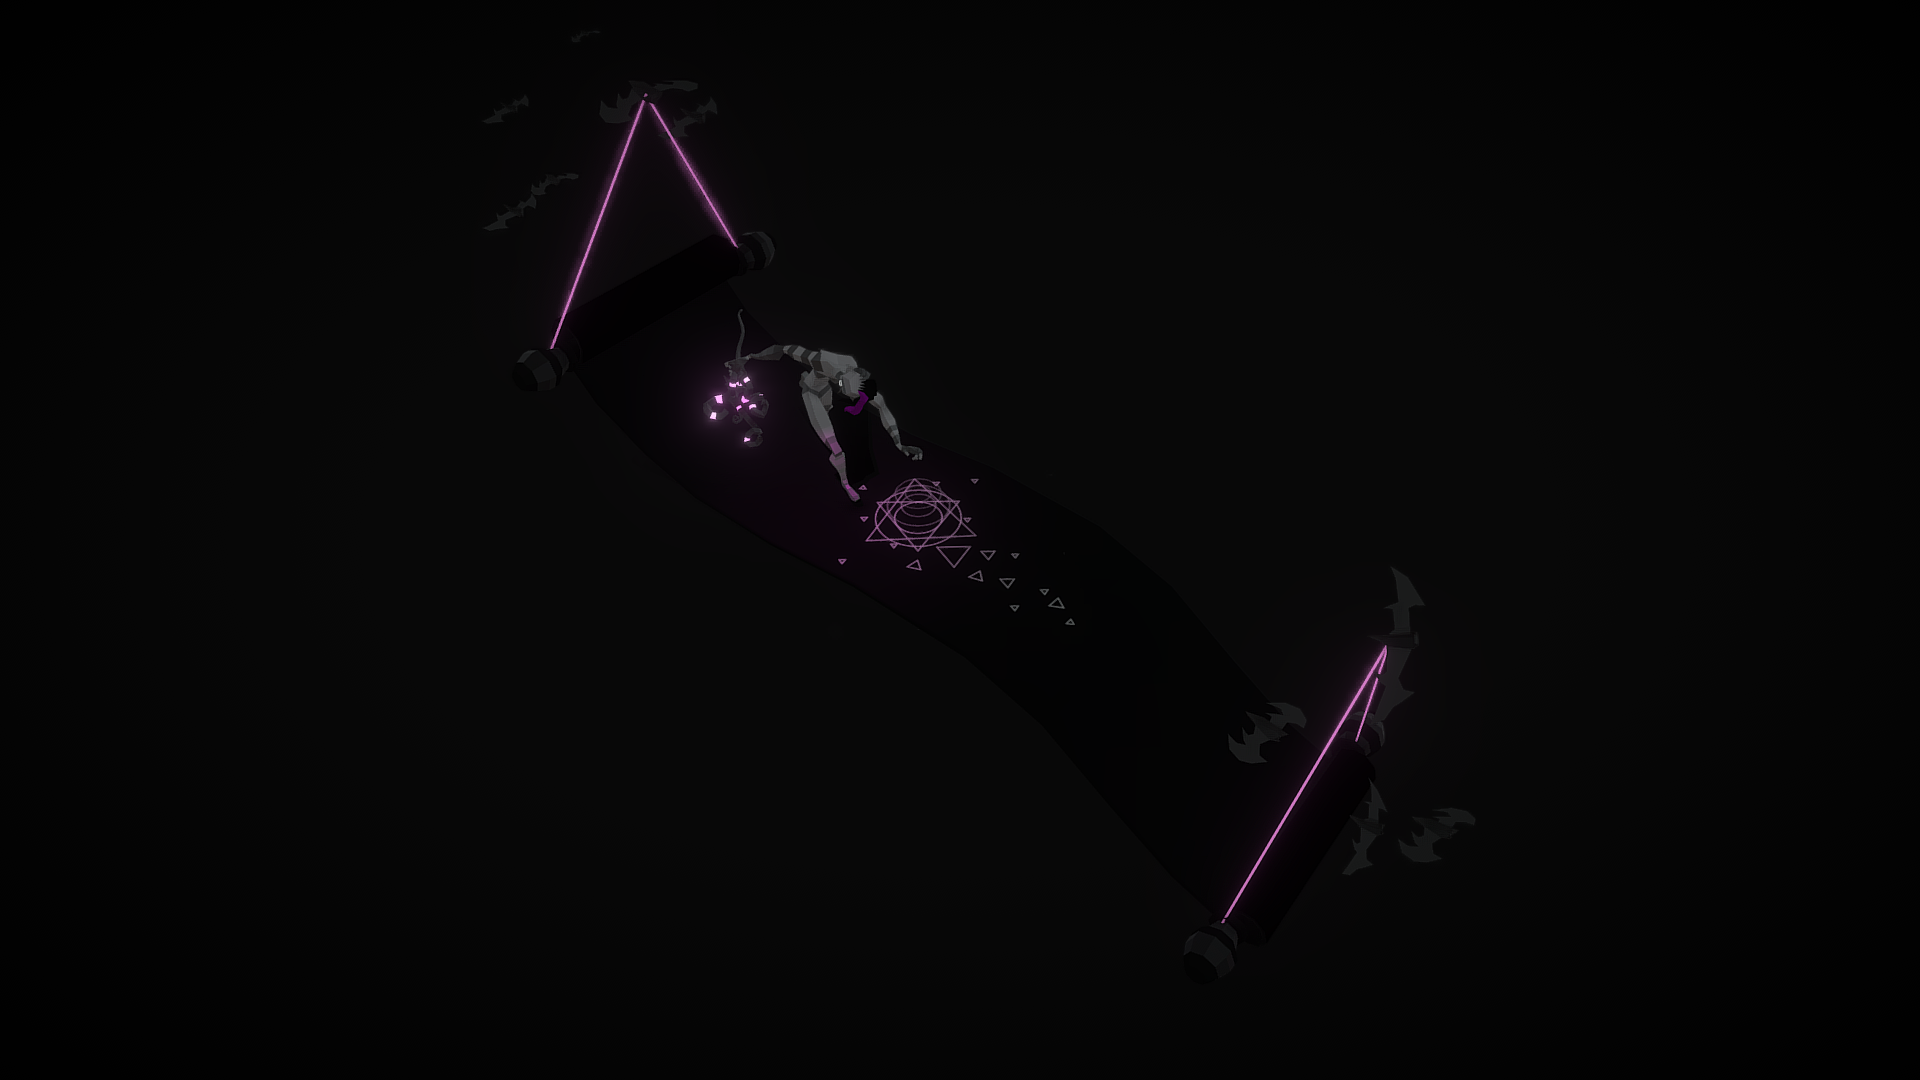
Pagoda of the crystal relic by Chaitanya Krishnan on Sketchfab
The process I followed involved 3 steps
1) Converting the greasepencil object to a path

2) Adding some thickness…
3) Converting this to mesh
if the mesh is too dense(most likely) use the Decimate modifier to optimize it

This gives you all the paths converted to usable thick meshes… which works in Sketchfab.
Now I need to figure out how to get fills and brush styles(if even possible).


.png)


.png)
.png)


Earlier this year I participated in an event that was a collaborative experience with art-scientist Andrew Carnie. Along with other artists we worked on sculptural entries that made up the exhibit Change My Mind, which deals with the mind and its potential alteration using implanted devices.
As an emerging media artist myself who works with VR, AR, Projection mapping as well as other technology and techniques, it was refreshing to get back to working with paper!

Changes in my life over the past couple of years have brought about an upheaval in my personal and professional life. It has meant a combination of me coming to terms with my situation and relationships as well as old unaddressed issues. As a means of adapting and better equipping myself, I’ve been exploring my mental health and looking into habit breaking exercises for my well being. There is no shortcut for such development or therapy today.
Perhaps one day an implant could facilitate this kind of growth and recalibration.
This work is an attempt to visualise this process, where an implant would rip out undesirable parts of one's personality or behaviour, while nurturing and enabling other underdeveloped ones.

My first thought was to create something in Virtual Reality or Artificial Reality, my current artistic medium, to depict an implant that could hack into digital devices, networks, blockchains.
However, upon introspection over the last few weeks, on my own exploration of my mind, I decided to try a different approach, embracing an old familiar technique to evoke a fantastical technological breakthrough of sorts.
For this piece I have used paper carving and sculptural techniques. I used to love this medium almost two decades ago. Lately I have been revisiting positive things from my past, and so decided to revisit this medium for the project.


The event was facilitated by Science Gallery Bengaluru.
Details on the project can be seen here: https://bengaluru.sciencegallery.com/psy-ar-events/change-my-mind


