
Yesterday at work decided to do a bit of Hit-Monkey fanart.
Inspired by the work of Carlo Barberi, Sandu Florea and Marte Gracia in Deadpool (2008) #20.

Heres the process I followed in Blender.
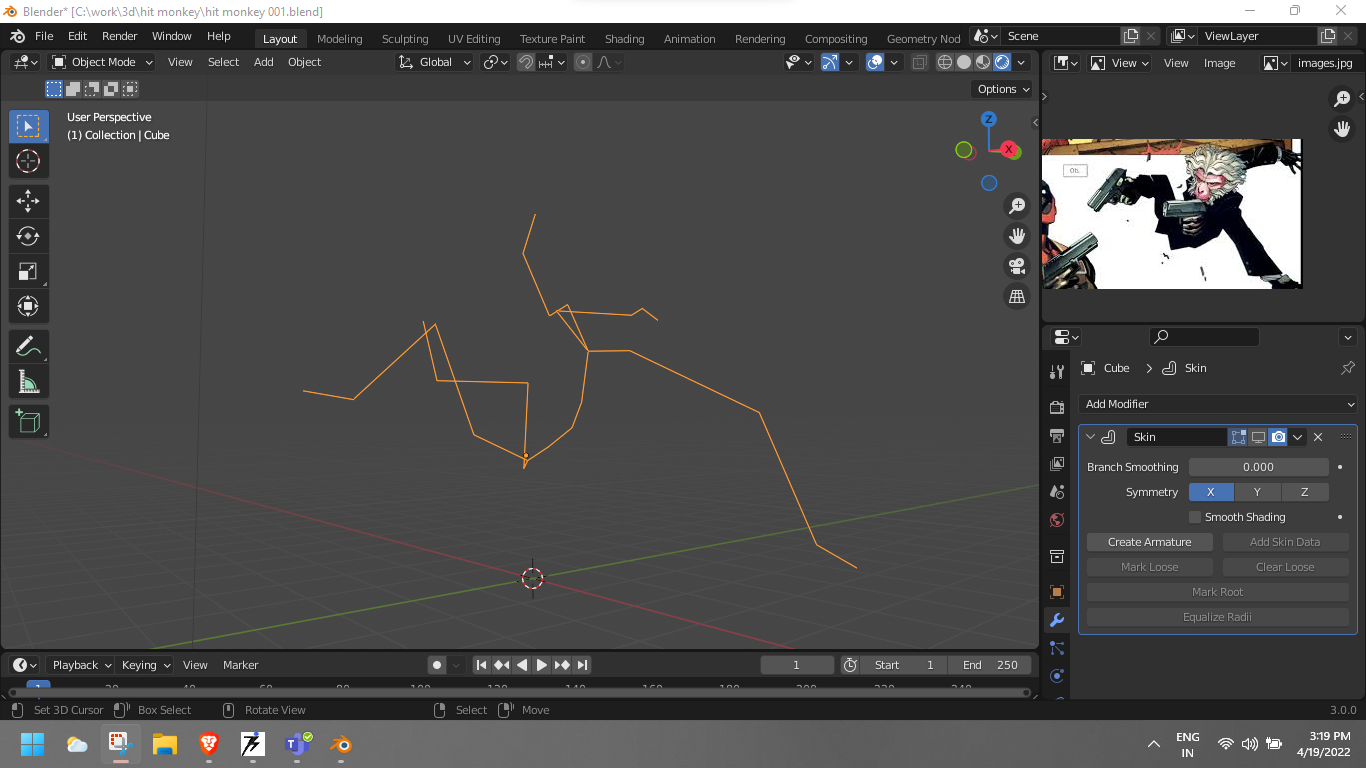
First step was to use a single vertice to create a basic stick figure in the pose i liked from the comic.
To get this single vertice, you just select a cube(or any object) go into edit mode and select all vertices.. hit "M' to merge them.

I then added the skin modifier to turn the stick figure into a boxy mesh. (incidentally this modifier has a handy button for creating a quick armature as well). Manually sellecting a vertice and scaling(ctrl A) lets you block out proportions. I find this really helpful when doing quick and dirty compositions, when I am not thinking about production level quality for animation/gaming.

I hadn't decided on whether I would be coloring with vertex paint, texture maps or shaders.. did some tests with basic materials and modelled some props(guns, and wall) to help with the composition and posing.


The hair was again using the same extruded vertices method from before, to create strands.. that I added the Skin Modifier to, turning them into individual locks of hair. A mirror modifier duplicated it on the other side.


Then it was time to model the final details like face, sunglasses, teeth, buttons on the suit, gun details etc.


Worked on some basic lighting and materials in Blender,
.. then moved to Sketchfab where I like the way SSAO and Depth of Field works.
Also wound up turning on Tone Mapping and using Filmic to get the contrast and color grading I needed.
Here's the final 3d scene
and some renders
.png)
.png)
.png)
Hope you liked this simple quick and dirty process for creating some quick 3d characters and scenes.
No comments:
Post a Comment